
Anyway, so I had to challenge myself a bit to come up a great way to celebrate Carol's birthday. I decided that everyone should have a birthday cake, so I made her this one:

Materials:
1paper mache box in the size of your choice (I got mine half off at Hobby Lobby)

bright colored scrapbooking paper
rickrack, ribbon, buttons, other doodads and pretties
glue (like Mod Podge)
willingness to get very very very sticky
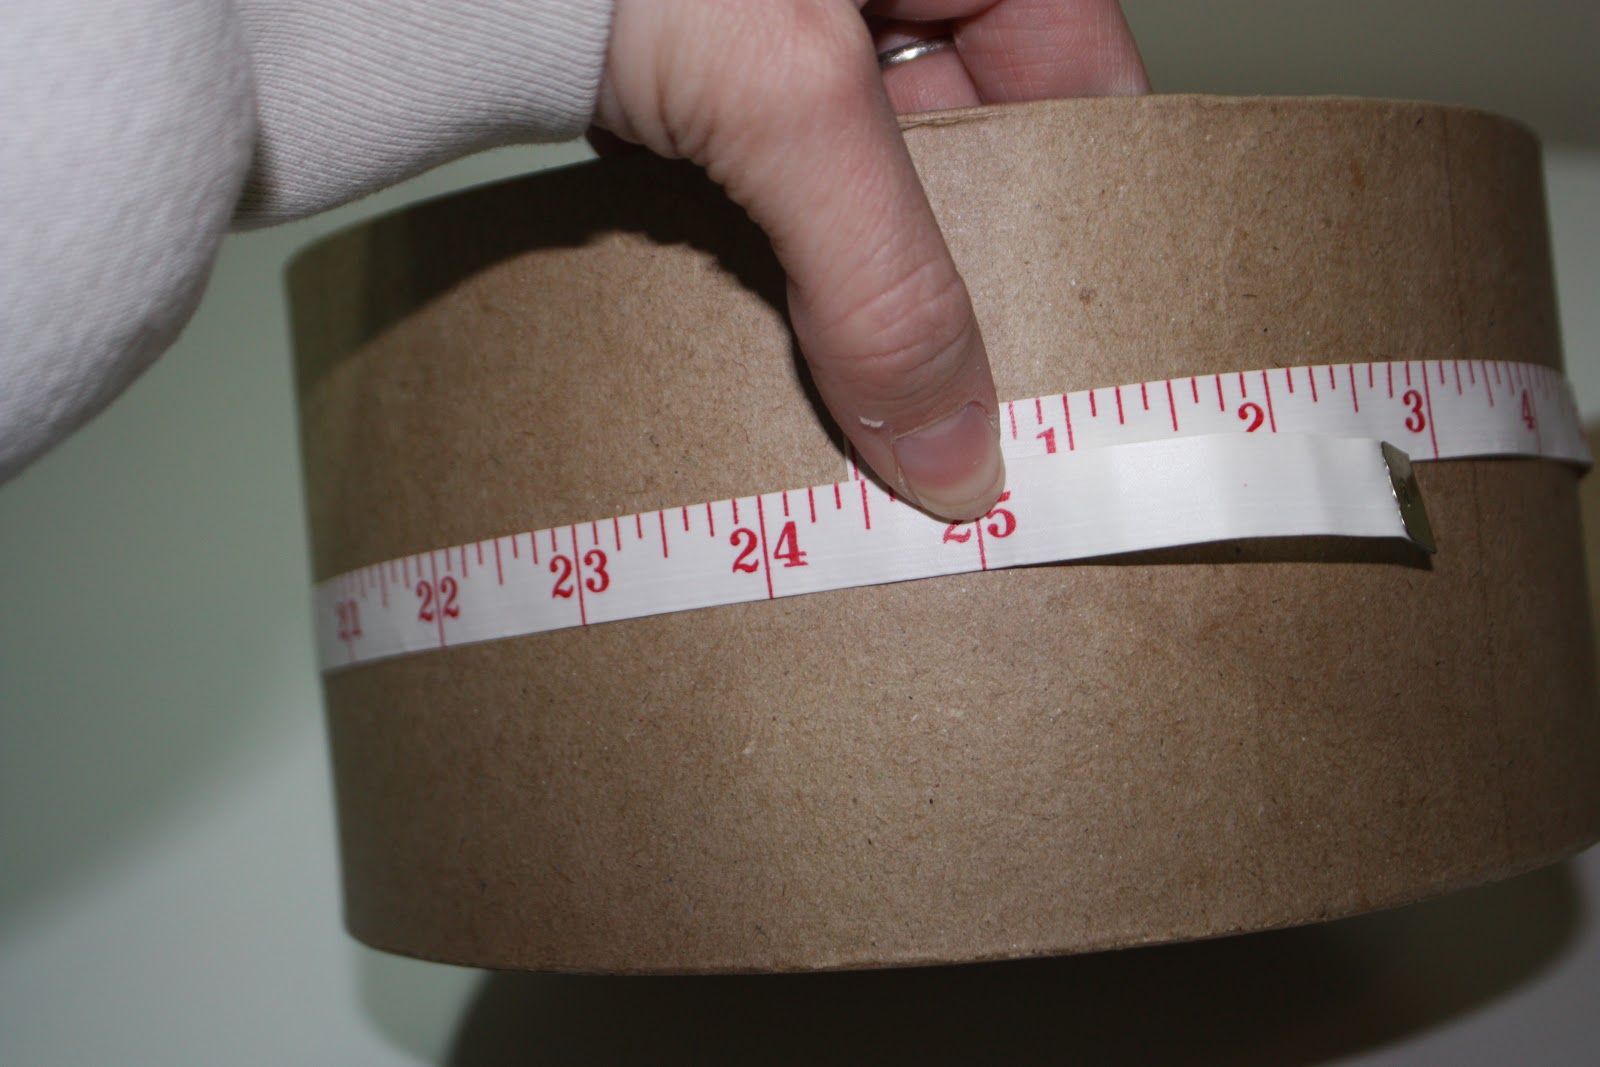
Step 1:
Measure your box.

Step 2:
Cut your scrapbook paper so that it is the right height. You may have to cut several strips to get the circumference. I needed 2 1/4 strips of 4 x 12 in scrapbook paper.

Step 3:
Using your preferred method, glue the paper to the box. My preferred method is to pour the glue onto a paper plate and then apply it with my fingers. That's why there are no pictures of this step. But just go ahead and get messy. It's fun.
Step 4: Repeat the process with the lid. Cut a little bit more than the height you need so you can wrap it up onto the top. That way no brown paper shows through. Hopefully the pictures will make that make sense.


Step 5:
Let 'em dry.

Step 6:
When it's nice and dry, trace the top of your lid on the scrapbook paper. Of course, you could be smart and just do this before you glue anything onto the lid. But where's the fun in that?


Step 7:
Glue the circle to the top of the lid, then cover the whole shebang with a layer of glue, for that nice shiny look and waterproofness. Dry dry dry.

Step 8:
Decorate! Hey that rhymes. I used rickrack and buttons to give my cake a festive look.


Step 9:
Fill er up with goodies. For Carol, who is a very prolific new seamstress, I chose a fat quarter of happy fabric, a pack of needles, a fabric marking pen, and a measuring tape.

Oh the happiness. I know you guys could have figured that out on your own, but I thought I'd show the process anyway. I'd love to see it if you make a non-edible cake of your own! :)
1 comment:
What a cute idea!
Post a Comment