
Ok, so remember these?

Well, someone asked for a tutorial, so here's the rundown. (I am thinking of making Tuesdays a regular day for posting a tutorial or how-to, so hopefully that will motivate me to get some good stuff done! :) ) <---- tangent, I know, but doesn't that look like a double chin to you? I never know what to do with emoticons and punctuation.
Editorial conundrums aside, read on to find out how I made each of these three lovelies.
Ok, so the first one, with the poppy:
This one was so quick I didn't manage to take pictures, so here's my best description. Cut two circles out of one fabric (I chose a red knit shirt that I had in my scrap pile) and one circle out of matching (or contrasting, whatever floats your boat) tulle or mesh. Layer the three circles with the tulle sandwiched in the middle. Pinch the middle so you've got all three layers bunched up, then sew a few stitches to keep it all bunched like that. Sew on a button in the middle and ta-da! you have a poppy. Glue it on your headband and you're done! Questions?
Next, the fabric-wrapped one:
Also way easy. Also didn't get any pictures of the process. (Geez what's my problem?) Sorry, when I promised a tutorial I mis-remembered that I had actually taken some photos. Anyway, here's a description: Grab a strip of fabric about 24 inches long by about two and a half inches wide. Fold it in half and iron it. Wrap it around the headband, gluing as you go. Really, it's very easy. Just remember to wrap so that you hide the unfinished edge of the fabric, and you're good.
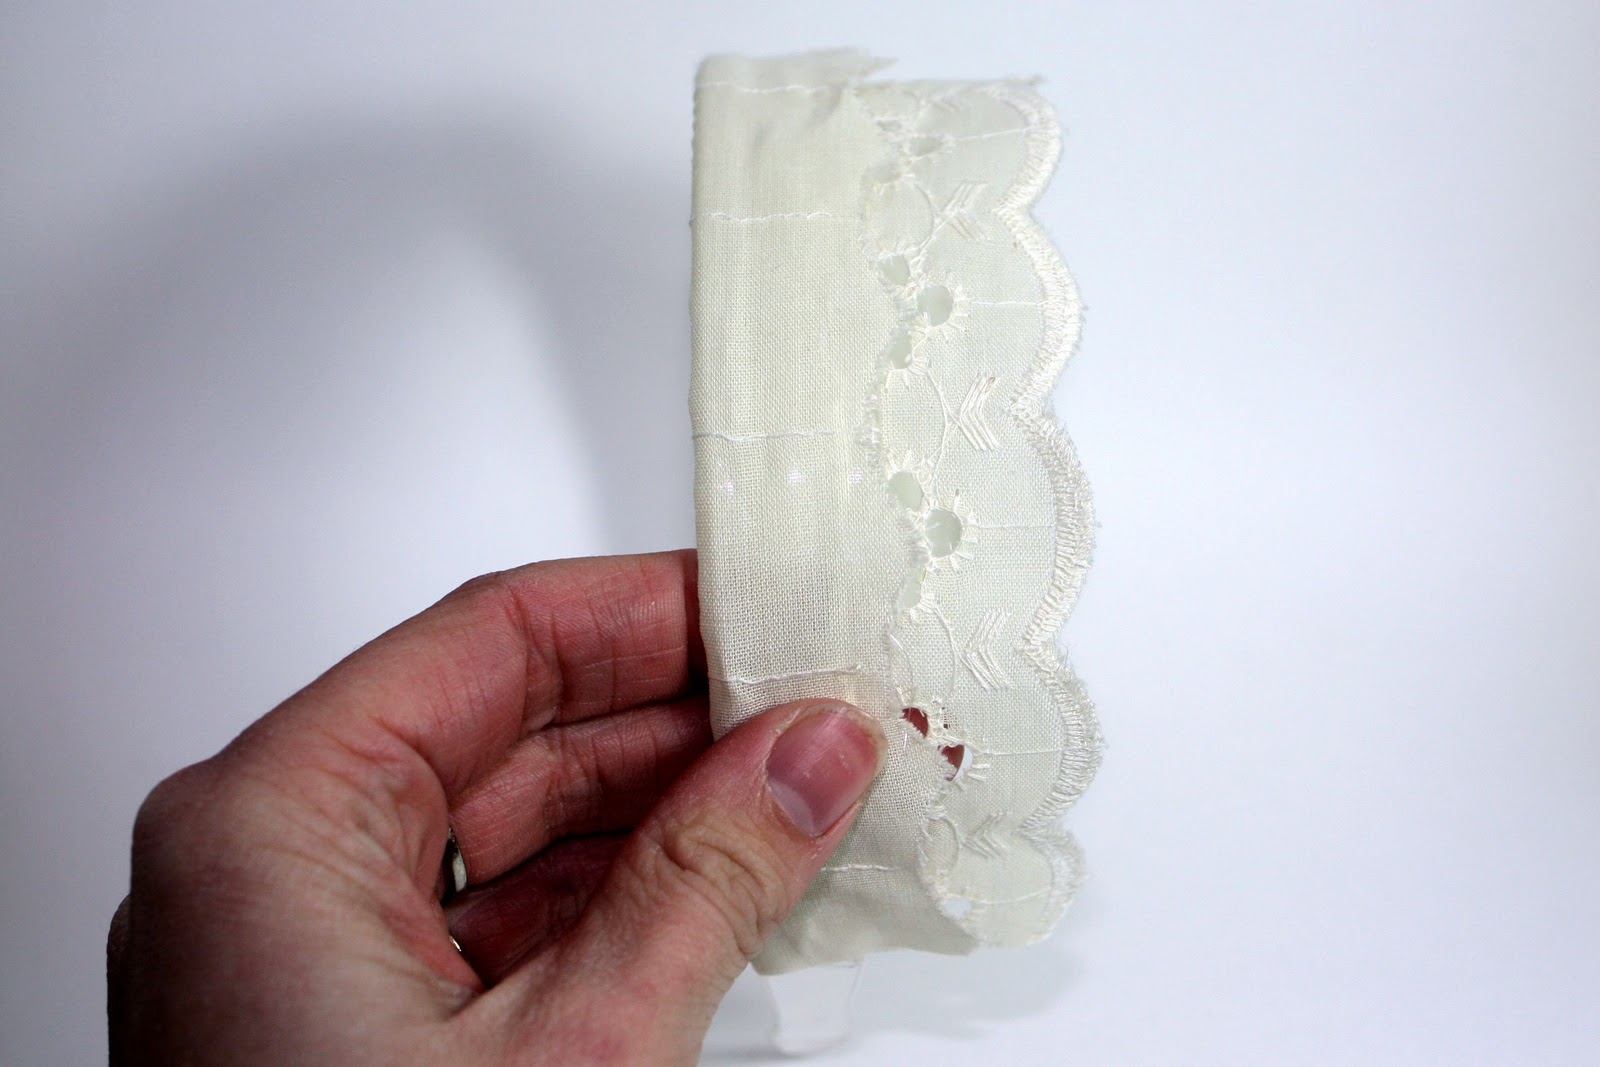
Ok, last, the lace one:
Now this one I DID get pictures of (that must have been what I was remembering).
You'll need a headband, a scrap of lace about 10 inches long, and a pretty doodad of some kind. I used this tutorial to make this easy and very pretty flower.

Find the middle of your scrap of lace and the middle of your headband and line them up. This helps you figure out where you need to start gluing so that it will all be even. So, yeah, once you figure out your star point, just start gluing the lace to the underside of the headband. (I used a hot glue gun because I don't like to wait.)

It will look like this when it's all glued:

As the picture says, put a little glue on your headband, then fold over the unfinished edge. The shape of the headband actually pulls the lace around it, so it forms a nice, snug fit.
Then, just do the same with the finished edge of your lace, a little glue and wrap the lace around the band.

Last, just glue on your fancy doodad and you're done! :)

Ok, so, world's lamest tutorial is done. Sorry, with practice I will hopefully get better! Here's wishing you all a happy day.
1 comment:
That was PERFECT!! Now I just need to cut my hair, buy some headbands, and get to work!! Thank you so much!
Post a Comment