I have a lot of scrapbook paper lying around, since I used to think I might actually do some scrapbooking, but now I've resigned myself to the fact that it simply isn't my craft. I'll stick with photo albums and just admire the beautiful scrapbooks of others. I don't have to do everything, right?
Anyway, I also have a ton of bubble wrap leftover from our move. Are you sensing a pattern here? If it can possibly be useful, I really don't like throwing it away.
So, with these powers combined I'm now able to save a buck or two when it comes to mailing out my creations to the lovely people who buy them. :)
Here's how to make 'em.
You'll need:
2 sheets of scrapbook paper, paper grocery bags, book pages - any sturdy paper will do
bubble wrap
glue (I used a glue stick)
sewing machine and thread
this tutorial by Swirly Thoughts
Steps:
Follow Swirly Thoughts' tutorial, except use glue to stick everything together rather than double-sided tape.
When everything is put together, bring it all over to the sewing machine and sew a straight stitch along the three closed sides.
And there you have it! When you're ready to mail something, just place your contents inside, and glue down the flap. I also use tape to secure everything. Then send it off!
Showing posts with label tutorial. Show all posts
Tuesday, May 3, 2011
Monday, April 18, 2011
Tutorial Tuesday: A Birthday Cake for the Non-Sweet Eater
So, my dear friend Carol had a birthday this month. I really wanted to help her celebrate, but there was one little problem: Carol can't eat dairy or sugar. So no cake, no brownies, no cookies, no pudding, no ... ok, I think you get the drift. I guess this is a good thing, since my oven is broken anyway (long story involving me being dumb, so I'll save that for another day).
Anyway, so I had to challenge myself a bit to come up a great way to celebrate Carol's birthday. I decided that everyone should have a birthday cake, so I made her this one:
If you'd like to make one, follow along:
Materials:
1paper mache box in the size of your choice (I got mine half off at Hobby Lobby)
bright colored scrapbooking paper
rickrack, ribbon, buttons, other doodads and pretties
glue (like Mod Podge)
willingness to get very very very sticky
Step 1:
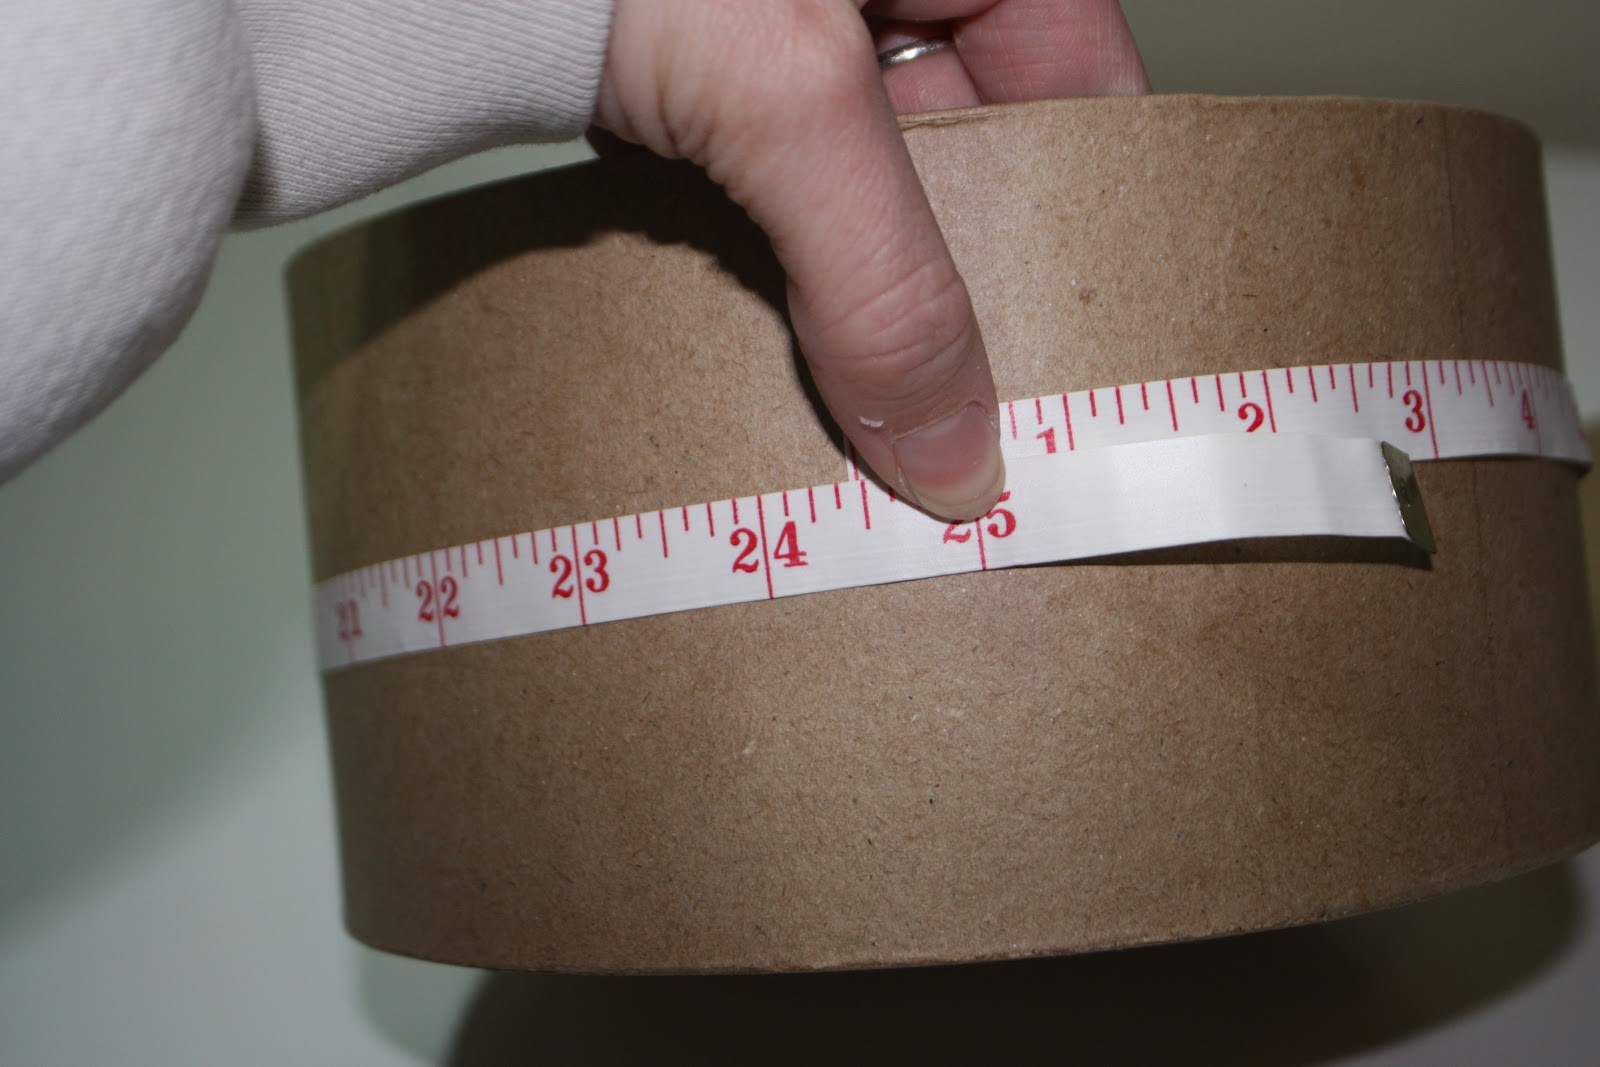
Measure your box.

Step 2:
Cut your scrapbook paper so that it is the right height. You may have to cut several strips to get the circumference. I needed 2 1/4 strips of 4 x 12 in scrapbook paper.

Step 3:
Using your preferred method, glue the paper to the box. My preferred method is to pour the glue onto a paper plate and then apply it with my fingers. That's why there are no pictures of this step. But just go ahead and get messy. It's fun.
Step 4: Repeat the process with the lid. Cut a little bit more than the height you need so you can wrap it up onto the top. That way no brown paper shows through. Hopefully the pictures will make that make sense.


Step 5:
Let 'em dry.

Step 6:
When it's nice and dry, trace the top of your lid on the scrapbook paper. Of course, you could be smart and just do this before you glue anything onto the lid. But where's the fun in that?


Step 7:
Glue the circle to the top of the lid, then cover the whole shebang with a layer of glue, for that nice shiny look and waterproofness. Dry dry dry.

Step 8:
Decorate! Hey that rhymes. I used rickrack and buttons to give my cake a festive look.


Step 9:
Fill er up with goodies. For Carol, who is a very prolific new seamstress, I chose a fat quarter of happy fabric, a pack of needles, a fabric marking pen, and a measuring tape.
Oh the happiness. I know you guys could have figured that out on your own, but I thought I'd show the process anyway. I'd love to see it if you make a non-edible cake of your own! :)
Anyway, so I had to challenge myself a bit to come up a great way to celebrate Carol's birthday. I decided that everyone should have a birthday cake, so I made her this one:
Materials:
1paper mache box in the size of your choice (I got mine half off at Hobby Lobby)
bright colored scrapbooking paper
rickrack, ribbon, buttons, other doodads and pretties
glue (like Mod Podge)
willingness to get very very very sticky
Step 1:
Measure your box.
Step 2:
Cut your scrapbook paper so that it is the right height. You may have to cut several strips to get the circumference. I needed 2 1/4 strips of 4 x 12 in scrapbook paper.
Step 3:
Using your preferred method, glue the paper to the box. My preferred method is to pour the glue onto a paper plate and then apply it with my fingers. That's why there are no pictures of this step. But just go ahead and get messy. It's fun.
Step 4: Repeat the process with the lid. Cut a little bit more than the height you need so you can wrap it up onto the top. That way no brown paper shows through. Hopefully the pictures will make that make sense.
Step 5:
Let 'em dry.
Step 6:
When it's nice and dry, trace the top of your lid on the scrapbook paper. Of course, you could be smart and just do this before you glue anything onto the lid. But where's the fun in that?
Step 7:
Glue the circle to the top of the lid, then cover the whole shebang with a layer of glue, for that nice shiny look and waterproofness. Dry dry dry.
Step 8:
Decorate! Hey that rhymes. I used rickrack and buttons to give my cake a festive look.
Step 9:
Fill er up with goodies. For Carol, who is a very prolific new seamstress, I chose a fat quarter of happy fabric, a pack of needles, a fabric marking pen, and a measuring tape.
Oh the happiness. I know you guys could have figured that out on your own, but I thought I'd show the process anyway. I'd love to see it if you make a non-edible cake of your own! :)
Tuesday, April 12, 2011
Tutorial Tuesday: A Birthday Bunting
When we were kids, my sisters and I loved -- I mean love, love, love, love, loved -- to make birthday banners. And not just for birthdays, no no. Welcome Home! banners. We Love You! banners. We Want More Allowance! banners. (Ok, I may have made that last one up, but it would have been a great idea.)
We had a dot matrix printer - you know the kind where the pages of paper are all connected, so the banners are lovely but you can ruin your school report if you don't rip carefully enough? Yeah, one of these babies:
image found here
Tuesday, March 29, 2011
Tutorial Time! Watch the (Crazy) Birdie!
Have you ever tried taking a picture of a baby? They seem to want to look everywhere but at the camera lens! You make noise, you pull away from the camera and make goofy faces - finally, he looks at you!! --But by the time you get your eye back to the viewfinder, bam! His eyes are somewhere else. Well, I came up with a little something today (thanks to some inspiration from my photographer friend Kristal), that will hopefully help in that endless struggle for the perfect shot.
I'm calling it the Crazy Bird -- it's an attention grabber. Bright colors, crazy eyes, and even some hidden noise makers will get that baby's gorgeous eyes looking right at the lens. And today, I'm going to teach you how to make one. :)
Thursday, March 24, 2011
The Making of an Appa Pillow Pet: "How the Awesomeness Was Wrought" or "The Gruesome Death of an Innocent Panda"
Think of this post as less of a how-to and more of a descriptive narrative. If you are looking to make your own Appa pillow friend, I hope that sharing my experience will help you in your quest. So here's what I did.
First, I decided that I needed to use some sort of pattern. There is a fair amount of improvisation in my crafting m.o., but completely winging things usually ends poorly for me. I didn't want to destroy any of the pillow pets that Isaac got for Christmas, so I had to think of something else. Luckily for me, my local grocery store was selling a knock-off version of the famous soft friends for only $7.99. I went and found the one with the roundest head. It just happened to be a panda:
Don't get attached. This does not end well for the panda.
(It might ease the grief if you notice the panda looks slightly evil.)
Monday, March 14, 2011
Tutorial Tuesday - Quick, Easy (Cheap!) Headbands
Ok, so remember these?
Well, someone asked for a tutorial, so here's the rundown. (I am thinking of making Tuesdays a regular day for posting a tutorial or how-to, so hopefully that will motivate me to get some good stuff done! :) ) <---- tangent, I know, but doesn't that look like a double chin to you? I never know what to do with emoticons and punctuation.
Editorial conundrums aside, read on to find out how I made each of these three lovelies.
Wednesday, February 16, 2011
Grown-Up Girl Tutu
For those of us who would love to prance around in one of these,
but don't quite have the guts (read: me), I've cooked up a grown-up version for the little girl in all of us. I introduce you to - The Tutu Belt
A tutorial for this way cute version can be found at the Ribbon Retreat blog.
but don't quite have the guts (read: me), I've cooked up a grown-up version for the little girl in all of us. I introduce you to - The Tutu Belt
That's Gladys, by the way. Cute, ain't she? Wanna see how it's done? Read on...
Subscribe to:
Posts (Atom)